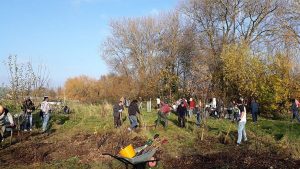
Clearing land
Removing trees – You can hire a mechanical excavator but it is expensive and causes you a lot of work as the trees are just pulled out and left where they fall. You then have to sort through and remove all the wood before cultivating land.
Winching trees stumps out with a tree jack or monkey winch is one possibility. These can be hired or borrowed.
Digging – very hard work and time consuming.
Sodium chlorate (common weed killer) is another option which is more easily accessible. Drill holes in stump and fill with sodium chlorate. Cover holes to stop water getting in and wait a month. The stump will become highly inflammable. Build a small fire on stump and it will burn away.
Moving Rocks
Large rocks can be moved by using levers but it is slow heavy work. Dig around rock and put a sturdy fulcrum in and lever rock up a little. Fill gap with small rocks and stones and let rock settle. Apply fulcrum to other side and repeat. Continue doing this until rock is on surface. Railway sleeper is ideal as fulcrum.
If too big to move, light a fire beneath it and once it is well heated throw cold water on it which may crack it.
Drainage
Get an earth auger and dig some test holes 36-48cm (3-4′) deep. If hole has water in the bottom you know where the water table is in that area. It will also give you a view of how the soil is made up. Remember the water table will be higher in winter than summer.
If you are going to drain an area contact the Drainage Officer DEFRA and/or the Environment Agency. Not only do they know about drainage but they can also subsidise the work in certain cases.
A difficult concept to grasp about drainage is that a ditch dug along a contour of sloping land drains the land below and not the land above. This is because it stops more water running into the field. The water falling on the field won’t make it waterlog, it is the water draining onto it from the land above that does that.
You can tell wet land even in a dry period by the plants growing on it. Marsh orchid, marsh violet, flag iris, marsh marigold, jointed rush, wood-sedge, common rush and bulrush all grow on boggy land.
First step is to check existing drains to see if they are blocked. If they are, clearing them will fix the problem.
Badly drained land is:
- sour, acid and infertile because vegetable matter falling on it doesn’t rot down it just turns into peat after many years.
- the land poaches easily – which means the constant feet of animals, humans and tractors, etc travelling over it will turn it into sticky infertile ooze
- it is ‘late’ land, i.e. it comes into use late in the season.
- susceptible to drought which sounds silly but any plants, etc. are only putting down shallow roots which can’t reach the moisture when the water level drops.
Ideally the water table should be 1.22m (4′) deep, 91.5cm (3′) is acceptable but anything less is too high.
Drains
When digging test hole, if you come to solid clay place your drains on top of clay, not in it. The ditch they drain into needs to be 30-45cm (12-18″) deeper. The drains also need a continuous fall, which can be as little as 2.5cm (1”) but it must be there or they will silt up. Even a small area with no fall will cause a sump and lead to silting up.
If placing drains near trees, use plastic pipes with no holes in area near trees or the roots will encroach and block the holes. It is better not to lay drains near trees if possible or go no nearer than 6m (20′).
Intervals between drains depends on soil. Can be 4.5m (15′) in heavy clay but 12m (40′) in sand. The heavier the soil, the closer the drains.
In peat soil, place drains below peat so they don’t distort as peat moves. If too deep, use open ditches instead.
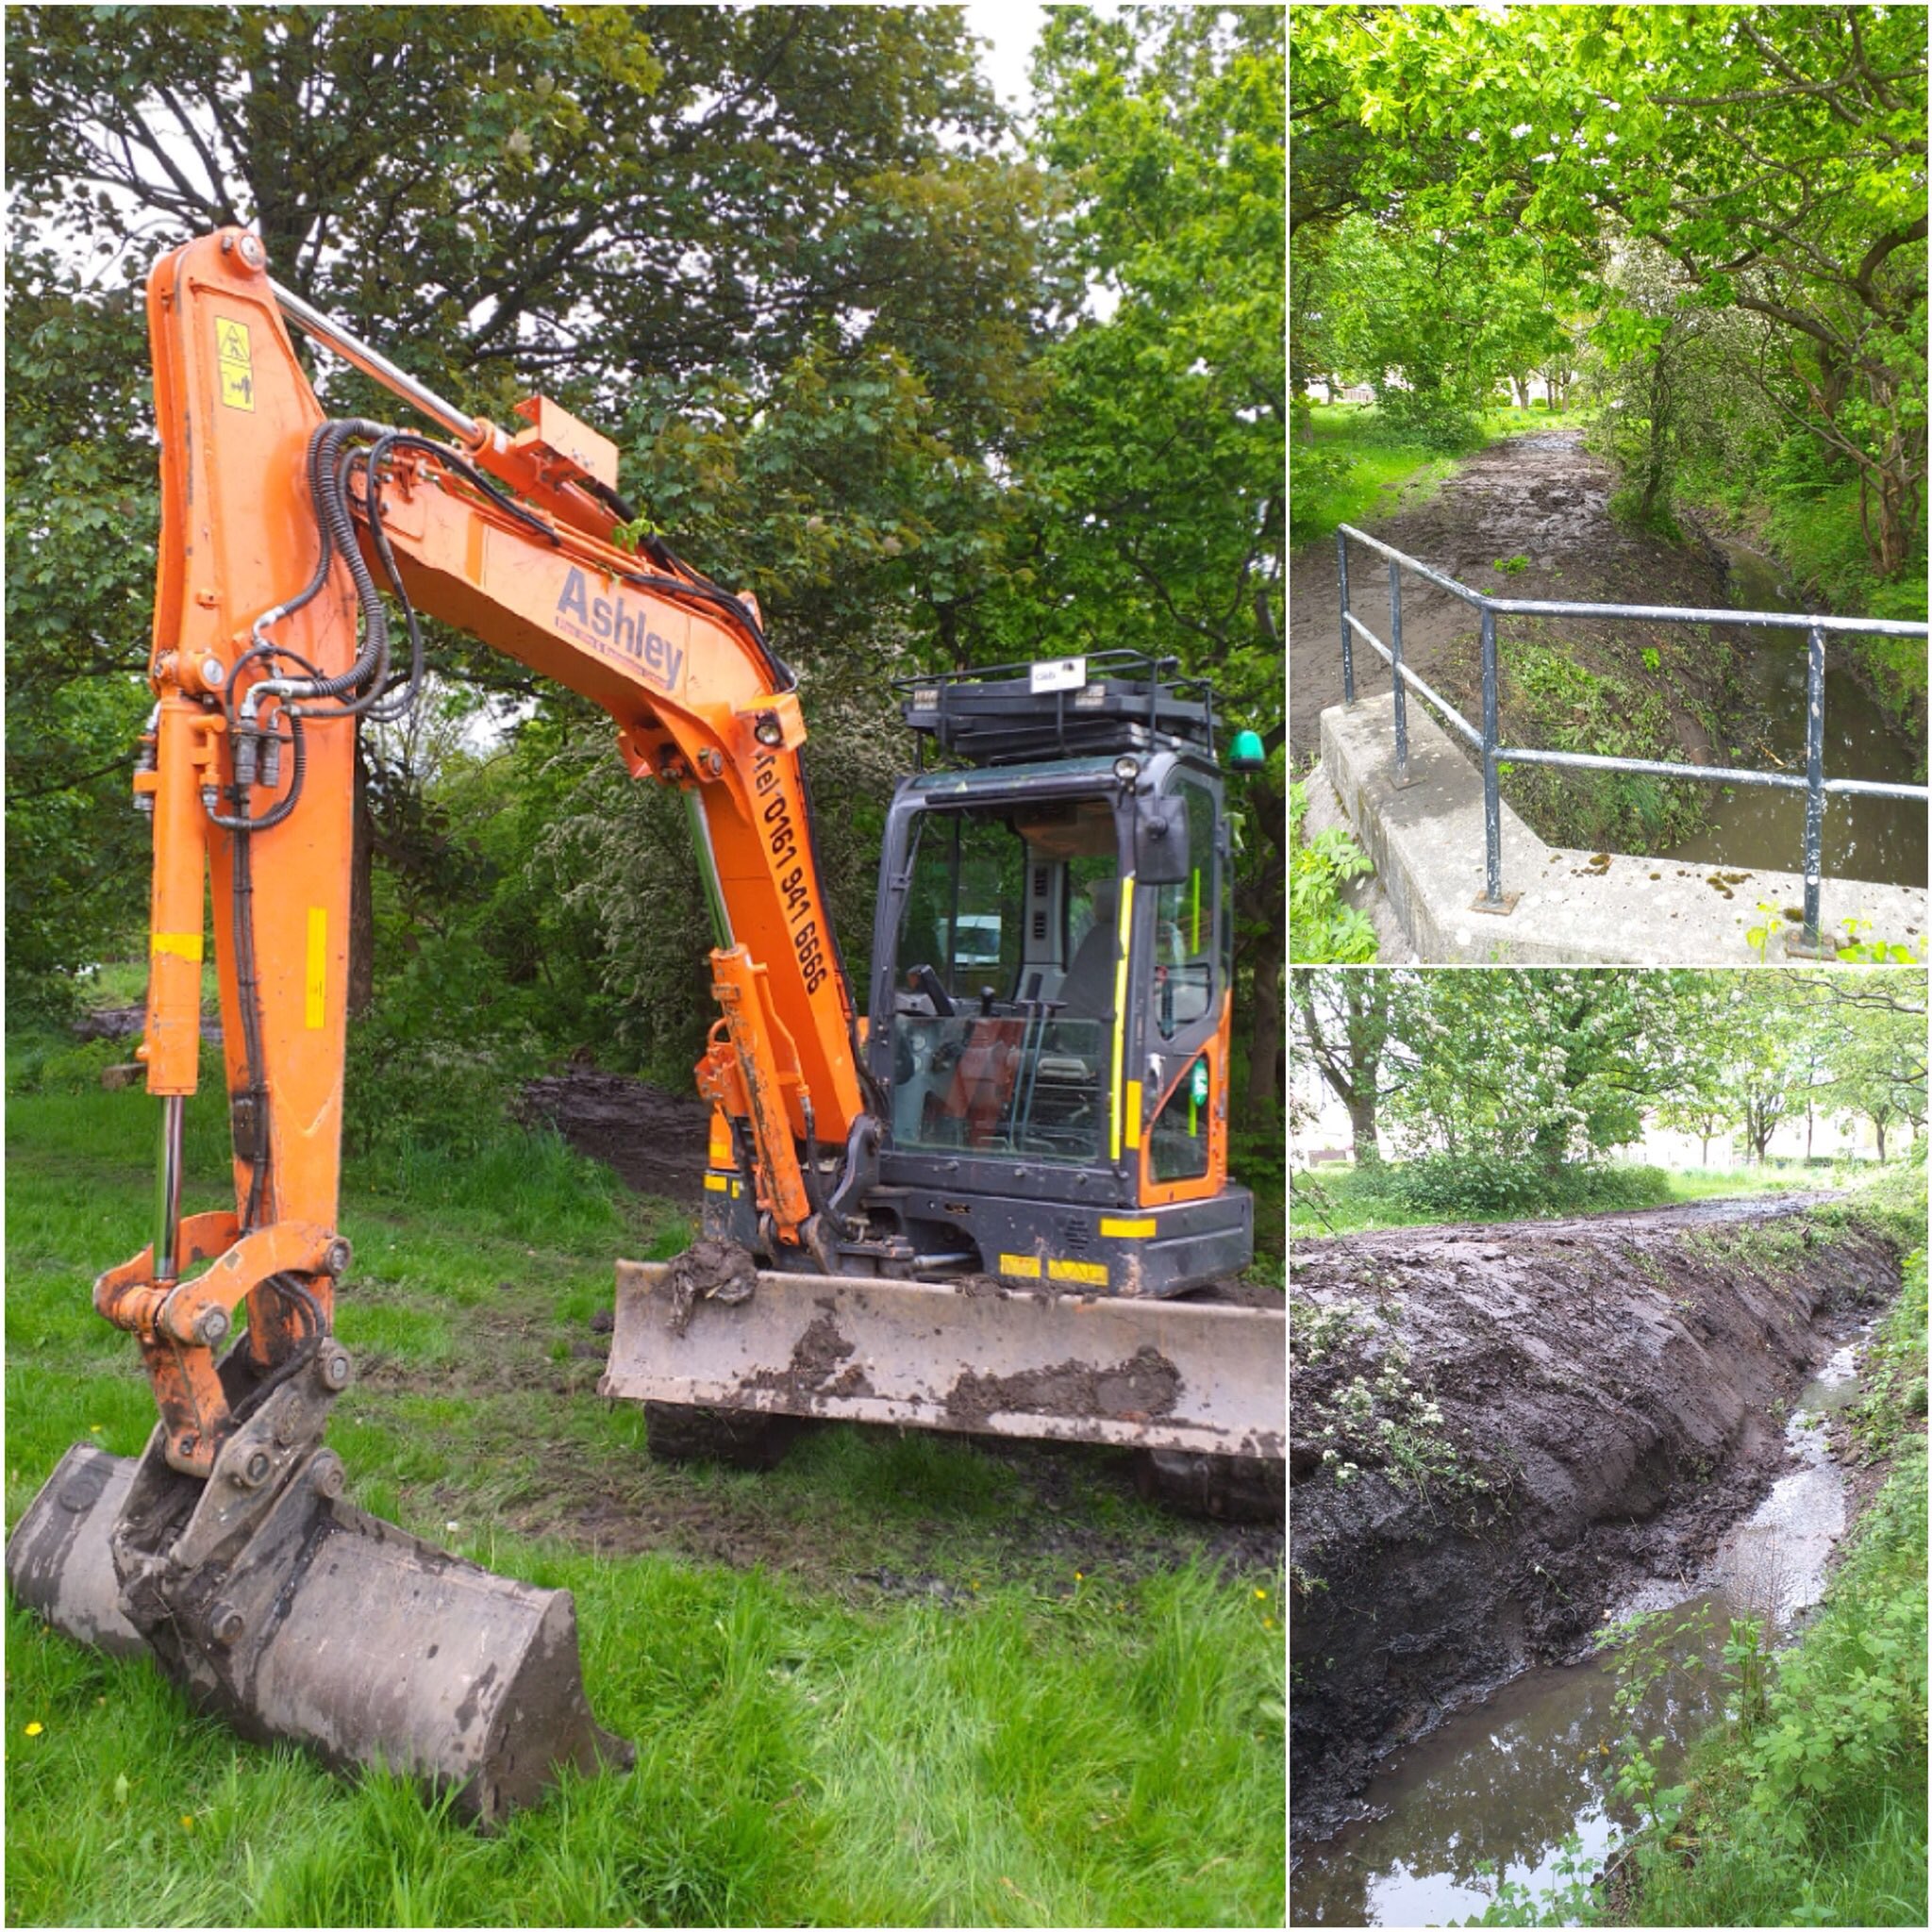
Open Ditches
Ditches should not be shallower than 75cm (2½’) or deeper than 1.22m (4’).
Easy to see and clear blockages. Very efficient but they take up space and have to be fenced off from cattle who will break down the sides. Needs maintaining annually by cutting back vegetation (flashing) and removing silt (every 2-3 years). When digging it must not have any low spots or sumps where water will collect and sides need to have sufficient batter or side slope, to stop sides falling in. Batter can be steeper on heavy soil than light.
Boundary with hedge and ditch is always the far side of ditch from hedge as soil from ditch is thrown up onto ditch digger’s land and he needs access to his ditch.
A ditch dug along a contour line will drain land below not above because it stops water from flowing into land below ditch.
Ditches can be dug by hand or machine.
Roadside ditches prevent water from under-cutting or flowing over the road and damaging it.
Ditches need to be linked or they will just overflow at the end. Ditches should interconnect and run off into stream or river.
Depth is determined by measuring level at which water flows. It ditch overflows it is not deep enough. Width also depends on volume of water. If too narrow it will overflow and if too wide it will choke with weeds. The angle of banks depends on the soil. Steeper banks possible in clay soil than in sand.
Underground drains
Don’t take up land, need little maintenance and last for many years. They don’t need fencing but if they do get blocked they are difficult to get at to unblock and also it is difficult to find where blockage is.
All underground drains have to come out somewhere, usually into a ditch alongside the field or along contour line at bottom of field.
All underground drains need to be placed deep enough not to be affected by traffic and need a continuous slope to the outfall or they will silt up.
If soil has impermeable layer just below surface or the soil has been panned by heavy equipment or animals poaching up the field, this layer must be broken up and this is done by underground drains, usually moles.
Two types of underground drains used:
Mole Drains
Made by torpedo like object pulled behind a tractor. Works well in clay soil; less well in light soil. If ground is stony you can’t make mole drains. Will last 8 years if lucky, less in sandy land.
A mole is a metal cylinder about 8cm (3.5”) in diameter with one end sharpened. Often an enlarger is dragged along behind it. This is slightly larger and rotates to enlarge the mole. The mole is mounted on a blade the length of which is adjustable which is fixed on a bar at the rear of a tractor.
A hole is dug at correct depth to insert the mole and then the mole is dragged down the field. It cuts a hole through the soil which stays open because the soil around it is compacted but the slit cut by the blade closes up.
Usually dug at 50-70cm (19.5-27.5)depth and drain land above them at an angle of about 45°. They are usually spaced 2.5-3m apart. They need considerable power to dig and it is a job for a tractor. In very heavy ground, a large tractor is needed. Often done by a contractor and grants are sometimes available.
In clay soil they stay open for 20 years but 8-10 is more usual.
Piped drains
A narrow ditch is dug and a pipe laid in the bottom. Traditionally it is a fired earthenware ’tile’, 30-46cm (12-18″) long. Now tends to be long plastic lengths. Plastic has holes in to let the water in, earthenware pipes let water in at the join. They are surrounded by loose stone or gravel then earth filled. Piped drains last a long time.
Tile drains last longer but cost more to lay and cause much more work. Could last several lifetimes if done properly and grants are available.
Narrow channels are cut in the soil to the required depth, generally the same as for moles, but tile drains land to either side to a distance equal to about 8 times depth.
The channels are covered with a layer of gravel or simply made smooth and level. Short (about 25cm, (10″) lengths of unglazed pipe with an inside diameter of about 10cm (4″) laid end to end and well butted together. When they feed into a ditch, the outfall must be at least 15cm (6”) above bottom of ditch and final 1.5m (4’10”) of piping must be rigid and frost proof. The drain is then covered with straw or more gravel and finally the earth is replaced.
Tile drains may be laid in simple parallel fashion or more complex herringbone pattern using ready made junction pipes. The side drains are small about 7.4 cm (3”).
Other types of underground drains
The Romans used brush drains. To make these you dig a trench, fill with brushwood and cover with earth. They last many years as the earth still stays open even when the wood rots away.
Stone drains also possible. Dig trench and throw in large stones with small stones on top and backfill. They will last many years before silting up.
Stone slab drains are usually made by a trench with two lines of stone slab along sides with another slab over to form a roof. Very effective and some still work after hundreds of years but stone slabs difficult to come by.
Springs
If there is a spring on your land dig down to the spring and connect it by ditch or land drains to a stream to carry water away. If there is still a waterlogged areas around the spring, make a larger hole around the pipe and fill it with stones.
Springs will appear in the most unexpected places and don’t always show as surface water, sometimes just as wet patches. If caused by the junction of a permeable and impermeable layer they will probably run in a line. These are best dealt with by an open ditch.
Roads
When a road or path goes over a ditch you either need a footbridge or a culvert.
Culverting is done by laying a pipe of sufficient diameter to carry storm water at the bottom of the ditch. There should be at least 46cm (18″) of earth on top of pipe and this must be retained by a concrete brick/stone wall either end of the culvert. Hardcore laid on surface to form path on top.
A couple of railway sleepers provide a bridge over a ditch.
To cross a stream, a king post bridge is better; for wider stream a queen post is even stronger.
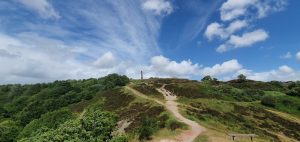
Roads and paths
If a path crosses hillside, don’t slant path with hillside but slant it into the higher hillside and put a drain in where path meets higher land. If you don’t, the water will wash the path away.
Paths can be dirt track, grass, cinders from a coal stove to gravel, hardcore or even tarmac.
A gravel path is easily made of crushed stone about 2.5cm (1″) diameter. If you edge the path with brick, slate, stone or even wood and confine the gravel within that, you will have a neat and long lasting path. Unfortunately gravel and hardcore are not easy to push a wheelbarrow over and weeds will grow through. You can do a concrete path yourself. Tarmac generally requires contractors but weeds will still grow through.
If only being used for walking and wheelbarrows it does not need a hardcore foundation. Roll out some chicken wire (width of path) along the line of the path, put light strips of wood 2.5-5cm (1″x2″) along the edges (these can be removed later if you wish). Pour a mix of 1:2:3 cement:sand:gravel between wood strips to a depth of 5-6cm (2-2½”), lift the wire netting an inch or two using a rake and then ram or tread the concrete well. This will give you a perfectly adequate, if not terribly beautiful path. To improve the looks, you can brush the surface with a stiff yard brush before it sets and to improve it even more, put pebbles, the size of hens eggs, into the concrete and push well down. Leave it until pebbles can’t be dislodged and then hose and brush with stiff brush at same time. The aim is to have the tops of the pebbles visible yet still have a smooth path for a wheelbarrow.
Reproduced with permission of North West Parks Friends Forum